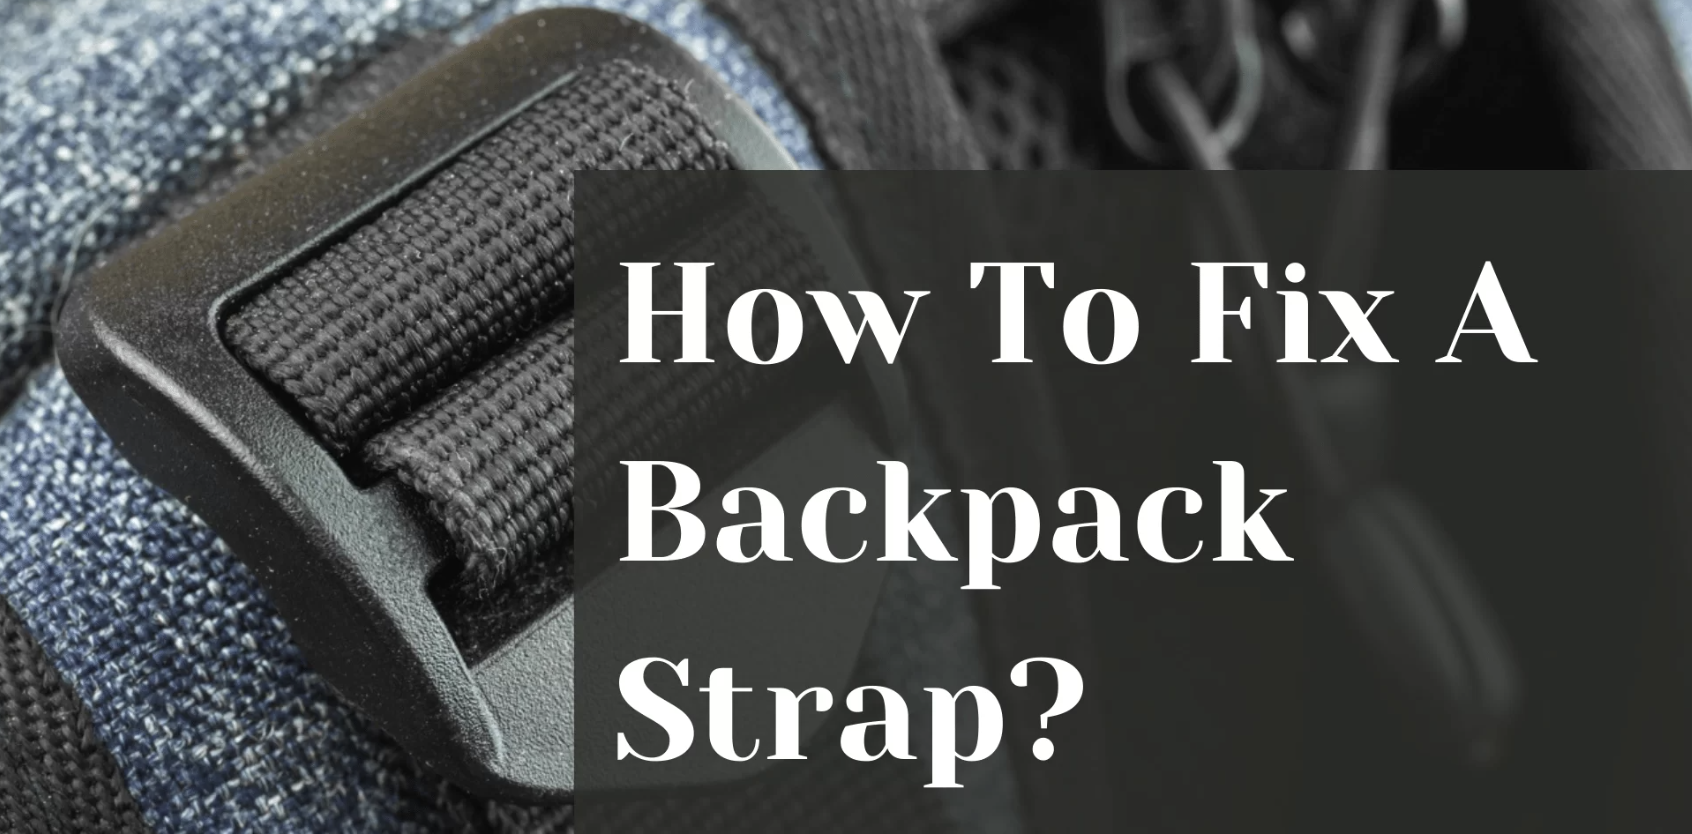
Have you ever wondered how to fix a backpack strap? Backpack straps are crucial components of your favorite bag, and when they break or become loose, it can be quite frustrating. This post will guide you through the process of repairing backpack straps effectively.
We’ll delve into routine inspections before trips and ways to avoid overloading packs, ensuring longevity for your shoulder straps. You’ll learn about different repair methods such as sewing with a nylon thread and quick fixes using two-sided duct tape or zip ties.
Furthermore, we’ll explore essential tools for on-the-spot repairs that should always accompany you during travels. By understanding how to fix a backpack strap properly and being prepared beforehand, you can ensure smooth journeys ahead without any hitches caused by broken or torn backpack straps.
The Importance of a Well-Maintained Backpack
Regular checks and good care can prevent mishaps from happening.
Routine Inspection Before Trips
Preparing for a journey? Make sure your backpack is in top-notch condition by inspecting it regularly. Check for signs of wear and tear, especially on the straps which bear most weight. Look out for fraying threads or weak seams as these are often early indicators that something might break soon.
Avoid Overloading Packs
Don’t strain your back or your backpack. Overloading your pack puts unnecessary pressure on its structure, particularly its straps. Know how much weight your backpack can comfortably carry without risking damage. If you’re unsure about what items to bring along during travels, check out our blog post about efficient packing techniques.
Taking care of your travel gear ensures longevity and reduces chances of inconvenient malfunctions during journeys. Optimizing your packing strategy enables you to concentrate on the excitement of exploration, instead of being concerned about if your luggage will last through the journey.
Note:
- Always ensure that zippers are properly closed before lifting up a loaded bag – sudden jerks may cause them to burst open unexpectedly.
- If possible, distribute heavier items evenly across different compartments instead of just stuffing everything into the main section. This helps maintain balance, reducing strain on single point areas like shoulder straps and making carrying easier, even over long distances.
Fixing a Broken Backpack Strap in a Jiffy
Here’s how to fix it quickly:
Empty Your Bag for Easy Access
First things first, empty your backpack and give the damaged area a good wipe down with a damp cloth. Take out the contents of your bag to gain visibility on what needs repair and avert further harm.
Clean the Damaged Area
Before you start any repairs, make sure the damaged area is clean and dry. Check out this guide for tips on how to clean your backpack.
Sew It Up
One effective way to fix a broken strap is to sew it up using strong nylon upholstery thread. Make sure to align the fabric properly and use double stitches for added strength. Trim any excess material once you’re done stitching.
Gather Your Materials
Before beginning, ensure that all required components are present, such as needles, durable nylon thread and scissors.
Proper Alignment and Stitching Techniques
Make sure to align the patches properly while sewing to avoid uneven weight distribution and discomfort. For those uncertain of the proper technique, various online resources are available for guidance.
Hit the Road
With your backpack strap fixed, you’re ready to hit the road again. Don’t let a little setback ruin your adventure.
Sewing: The Solution to Broken Backpack Straps
With a bit of sewing savvy, you can easily fix that broken backpack strap in no time.
Gather Your Materials
Gather all the required materials before beginning your repair. You’ll need a sewing kit with needles, pins, and nylon thread. If the damage is severe, consider using a piece of durable nylon cloth as reinforcement.
Get Stitching
Align the nylon cloth with the damaged area and start stitching from one end to the other using small, even stitches. Remember to go over each stitch twice for added strength. Fill in any gaps between stitches to prevent further damage.
With a little bit of patience and some sewing skills, you can avoid carrying a broken backpack strap around all day. So next time your strap breaks, don’t panic – just grab your sewing kit and get to work.
Quick Fixes Using Duct Tape or Zip Ties
When your backpack strap breaks and you don’t have a needle and thread, don’t worry. Duct tape and zip ties can save the day.
Application Method for Quick Fixes
For duct tape, cut a long enough piece to wrap around the broken area several times. Make sure each layer overlaps with the previous one for added strength. If using zip ties, loop them through where stitching would normally go and secure tightly at the top.
Ensuring Secure Application
Apply multiple layers of duct tape for resilience against wear and tear. When using zip ties, avoid causing undue strain on the material. Check regularly for secureness and make necessary adjustments.
Tips For Applying Duct Tape:
- Clean off any dirt or debris from your backpack straps before application.
- Avoid touching the sticky side too much to ensure better adhesion.
Tips For Using Zip Ties:
- Pull slowly but firmly to avoid snapping the plastic prematurely.
- Carry a few extra zip ties just in case one breaks or gets lost.
Remember, these are intended as quick fixes to get you back on your way. They won’t last forever, but they can extend the lifespan of your backpack until you find a suitable permanent fix. Gather the essential tools for repair and maintenance, so you can keep your journey going strong. You’ll thank yourself later.
Essential Tools for Backpack Repairs
Backpack straps breaking? Zipper separating? Don’t panic. With a few basic tools and some DIY skills, you can fix these issues on-the-go and keep your favorite bag in service for many more adventures.
Tools You’ll Need
- Sewing Kit: Needles and nylon thread can fix frayed edges and broken straps.
- Duct Tape: Two-sided duct tape is versatile and great for quick fixes.
- Nylon Cloth: Extra pieces of nylon cloth can patch up larger holes or tears.
- Buckles and Zip Ties: These offer strong options for holding parts together under stress conditions.
Don’t forget to bring scissors, pins, and buttons too. Taking care of our belongings is part of being responsible travelers, and learning how to repair common problems saves us money in the long run.
Essential Repair Tools List
- Sewing Kit: Needles and Nylon Thread
- Duct Tape
- Nylon Cloth
- Buckles and Zip Ties
It’s preferable to possess these supplies and not necessitate them than require them but lack them.
The Importance of Being Prepared Before Your Next Adventure
Don’t be caught off guard on your next journey. Being prepared can make all the difference between a smooth, enjoyable trip and a frustrating one. Be ready with the right resources and understanding to manage any potential issues.
Benefits of Being Prepared
- Saves Time: Fixing problems yourself saves time that would otherwise be spent seeking help or replacements.
- Promotes Self-Reliance: Solving problems independently builds confidence and self-reliance.
- Saves Money: Fixing things yourself instead of replacing them can save you money.
Being prepared also means understanding potential challenges that may come up during your travels. Research local customs and laws, stay updated on weather conditions, and be aware of potential hazards in the areas you’ll be visiting.
Check out this guide for tips on fixing common travel gear issues. And for more practical tips and tricks related to traveling, blogging, self-improvement, and earning online through social media, join our community at DaDi.
Our affiliate program enables us to give our knowledge, discoveries, and resources to those who share the same enthusiasm. We believe in the power of preparation and want to help others succeed on their journeys, whether it’s exploring new countries or launching an online business while traveling.
Come join our expanding community of explorers, bloggers and entrepreneurs who dream, take action, explore and motivate each other to reach their goals.
FAQs in Relation to How to Fix a Backpack Strap
How to Fix a Backpack Strap?
Fix a broken backpack strap by sewing it back together with strong thread, using duct tape for temporary fixes, or replacing the broken part entirely. Check out this in-depth guide.
How to Fix a Broken School Bag Strap?
Mend a school bag strap by sewing the damaged area securely. For more details, check out this helpful tutorial from Sewing About.
How to Fix Twisted Backpack Straps?
To untwist your backpack’s shoulder straps, simply unbuckle them at their base and straighten them out before reattaching. Get additional tips from Backpacker Magazine.
Backpack Maintenance: What to Avoid?
- Avoid washing your backpack in a washing machine as it can damage the material.
- Avoid using bleach or harsh chemicals to clean your backpack as it can weaken the fabric.
- Avoid overloading your backpack beyond its capacity as it can cause strain on the straps and zippers.
Backpack Maintenance: What to Do?
- Regularly clean your backpack with a damp cloth and mild soap.
- Store your backpack in a cool, dry place to prevent mold and mildew growth.
- Apply a waterproof spray to protect your backpack from rain and moisture.
Backpack Repair: When to Seek Professional Help?
If your backpack has major tears, broken zippers, or damaged frames, it’s best to seek professional help from a backpack repair specialist. Avoid attempting to fix it yourself as it can cause further damage.
Conclusion
Knowing how to fix a backpack strap is a must-have skill for any traveler – avoid overloading your pack and inspect it regularly to prevent damage.
If a strap does break, empty your pack and clean the damaged area before attempting to sew it back together with proper alignment and stitching techniques.
But if you’re in a bind, quick fixes using duct tape or zip ties can also do the trick – just make sure to pack essential repair tools before your journey to save time and hassle.